
You have probably seen them all over the place, even at your local fabric store. And so have your kids! If you're looking for a fun project to make with your young 'uns that won't give you a headache or traumatize them either, a tied fleece blanket is the perfect project!
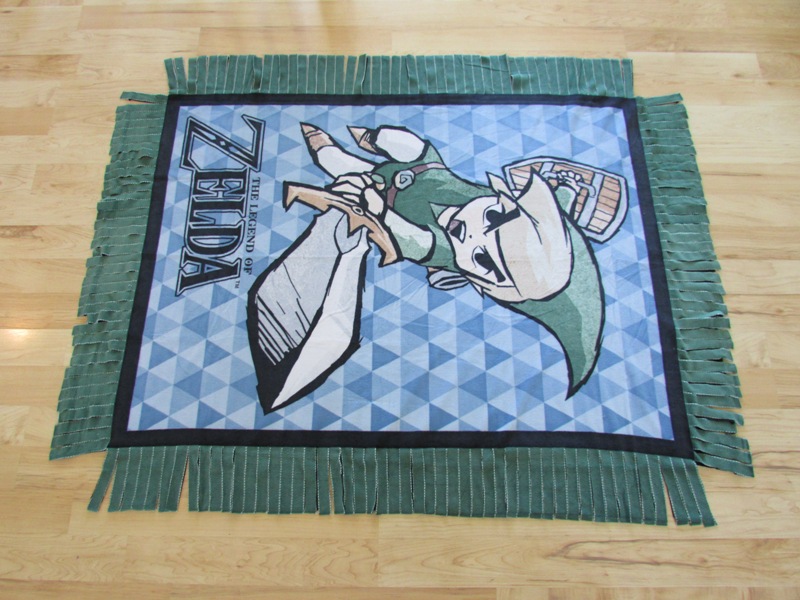
It's definitely not a new style, but these blankets ARE super comfy and sturdy. I love that they're double layer and that you can make them out of inexpensive fleece. You can find kits at stores, like this amazing Zelda one from Joann's that my son couldn't pass up (he even bought it with his own hard-earned money, people!), but to make a fleece blanket you really don't need a kit. Any fleece will do. I especially recommend checking out the fleece sales on Black Friday or the clearance bin -- these blankets make awesome gifts and there are zillions of prints and solids available! Anyway, let's get on to the tutorial!
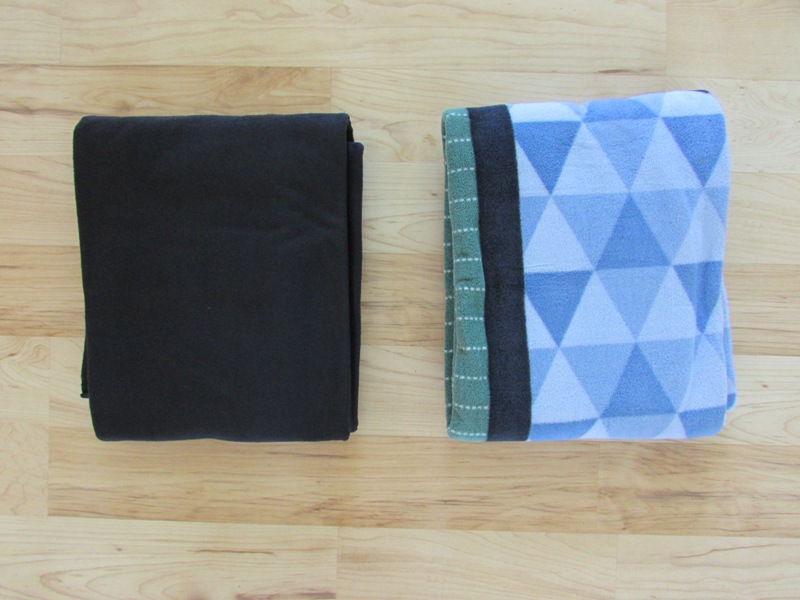
Start out by buying two equal cuts of fleece fabric. If your fleece is 60" wide like most is, I would recommend getting 1 1/3 yard of each piece. This will give you a final blanket of about 55" x 43". You can make yours bigger or smaller if you'd like; any size will work as long as the two pieces are equal.
Next, decide where you want to make your blanket. The space needs to be big enough to lay the blanket out fully. You also won't want to move the blanket in the middle of construction, so don't put it in a busy area of your house unless you have time to complete it all at once. (I did lay mine in the busiest area of my house, but I knew we would get it all done in one sitting. That works too.)
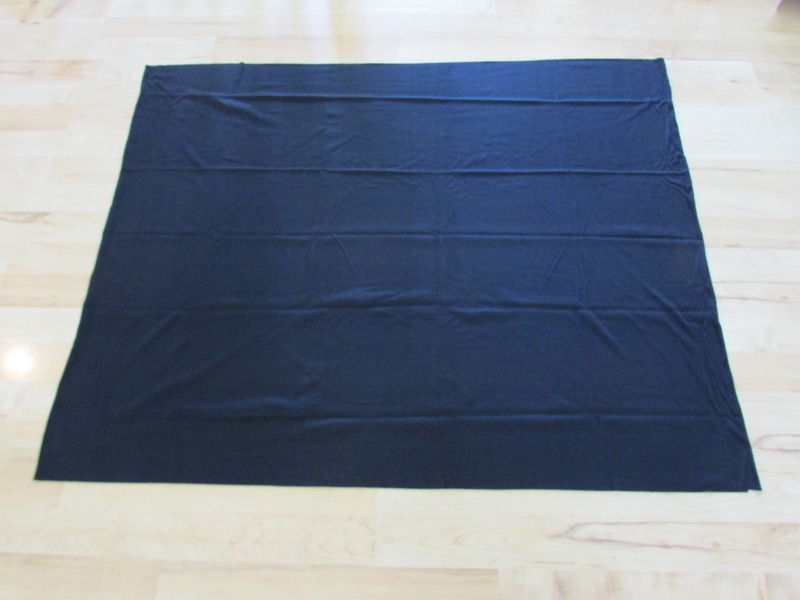
Okay, so when you have your spot chosen, take your bottom layer (often a solid) and lay it out on the flat surface with its right side facing down. (If you can't tell which is right and wrong, it may not matter.)

Then take your top fabric and lay it directly on top of the other layer, with its right side up, matching the sides the best you can.
After aligning them the best you can, trim off the selvages or uneven edges from all the sides. Keep the sides as even as possible and check to make sure the layer underneath reaches all the way to the edges of the top. You want them to be as even as possible when you're done trimming.
Note that my black layer is hidden underneath in the photo above. Also, because I'm using a printed kit there are lines drawn on the fabric. If you're using regular fabric, you do NOT need to draw lines on the fabric! I used it for the tutorial just to make it easier to see what we're about to do.
Once you have the two layers aligned and trimmed, avoid moving the blanket around much through the remaining steps! You want them to stay aligned.
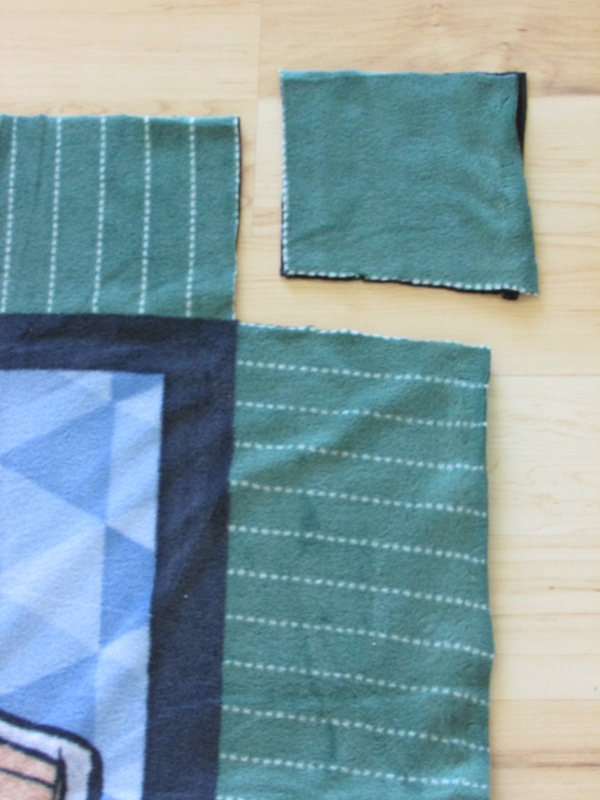
Using a ruler, measure a 4" or 5" square on each corner of the blanket (depending how long you want your fringe to be) and cut it out using fabric scissors. See photo above.
(Don't throw those squares away though... you may want to use them! My daughter asked for them at this point and came back with a surprise... we'll show you that in a bit!)
Repeat this on all four corners of the blanket.
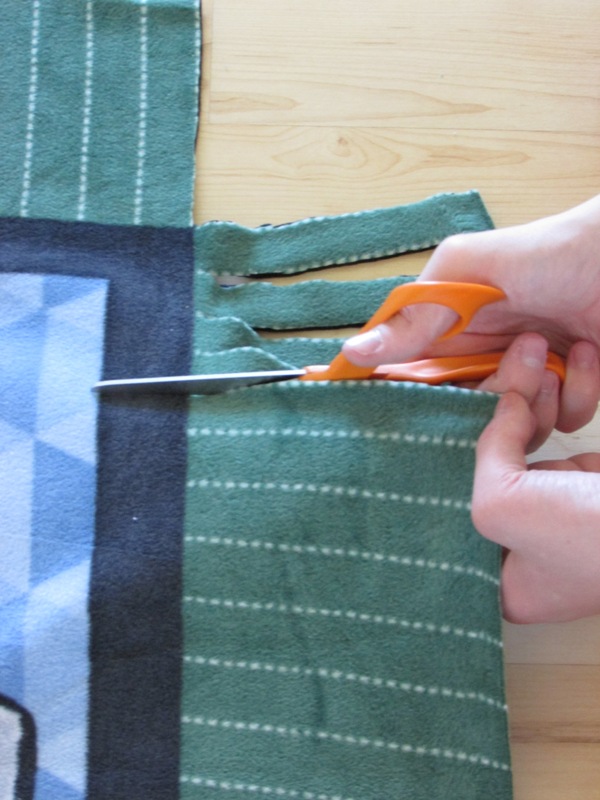
After you have cut off the corners, next you will make cuts all along the edges of the fabric that are each 1" apart and 4" or 5" wide. You don't have to measure exactly, especially for the kids, but you want them to be as even as possible. The 4" cuts should all end at about the same point. Be sure to cut through BOTH layers of the fabric each time. (This is my son cutting in the photo above. Isn't he doing a great job?!)
Continue cutting all around the blanket, keeping the cuts as consistent as possible. On our kit blanket it is easy to see where to cut, but its honestly not any more difficult with regular fabric. If you're working with younger kids, you could use a washable fabric marker to draw the "end" line 4" from the edge all around the blanket. When you're done cutting, it should look like the photo above.
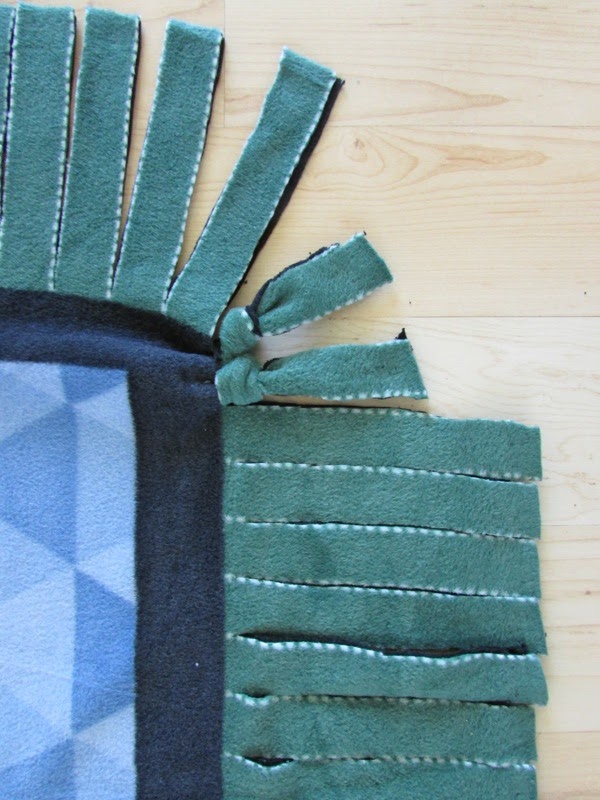
Now you're ready to tie! Beginning at one of the corners, grab the two layers and tie them into a single knot. Then repeat. There are several ways to tie the knots and any will work as long as you keep them all going the same direction for consistency. See photos below for how I did it here.
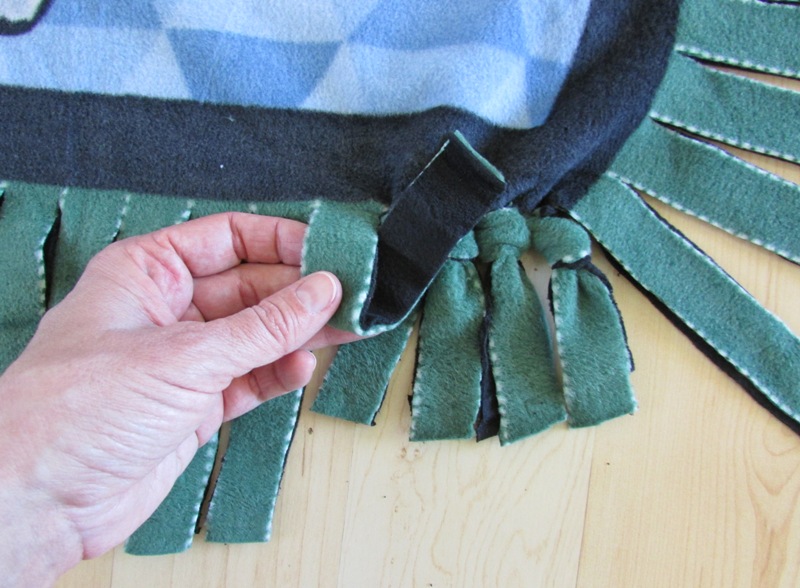
Fold both layers to the right.
Wrap under and around itself.
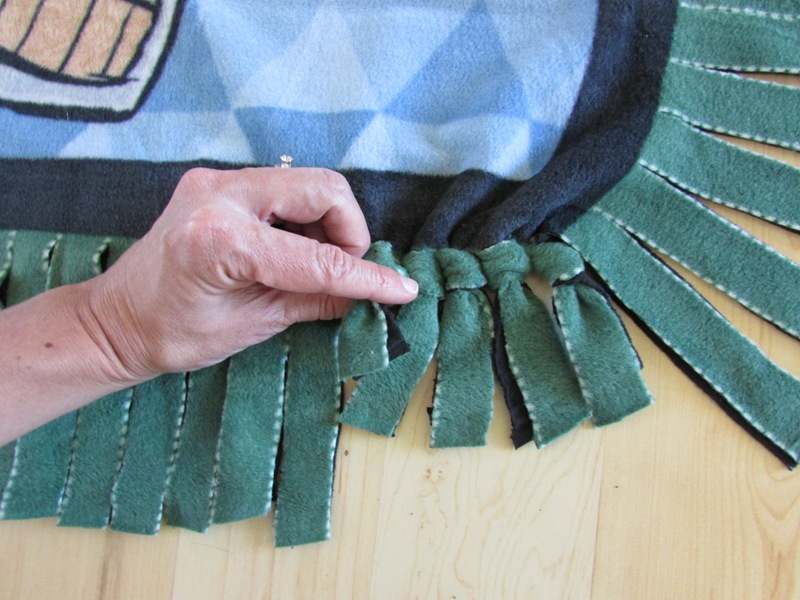
Hold the knot close to the blanket with one hand and pull the loose ends with the other hand.
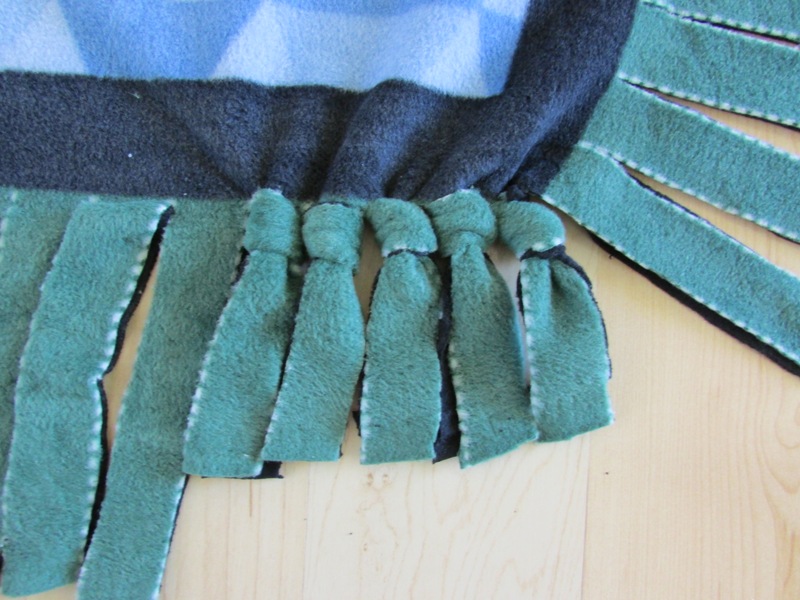
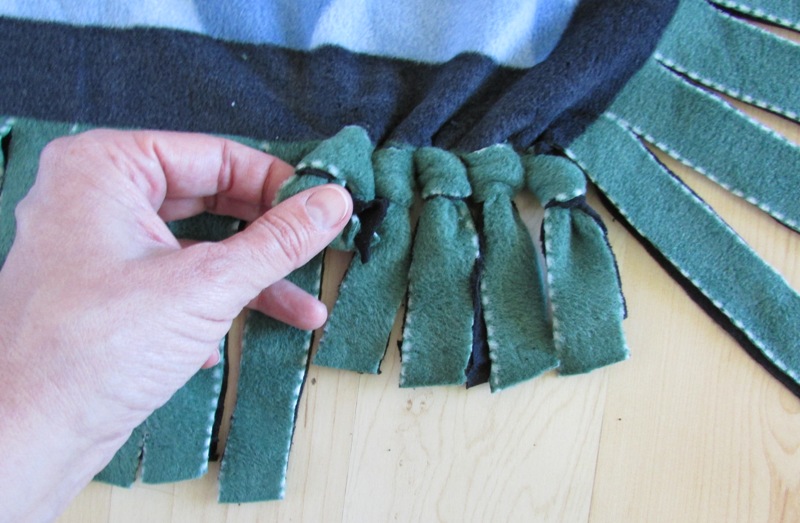
Ta-da! After you do just a few it becomes easier to make them all look the same. Be sure to make them snug but don't pull tight enough that it will stretch the fabric.
As you tie, you may notice that it pulls the blanket and kind of bunches it up. This is okay as it adds texture to the blanket, but you can gently pull the knots away from each other if you want it to lay more flat.

Keep on going with the ties! This is a good time to help out if your kiddo gets impatient with projects like this. Turn on some music and make it fun. I would guess that ours took about half an hour to tie with the two of us.
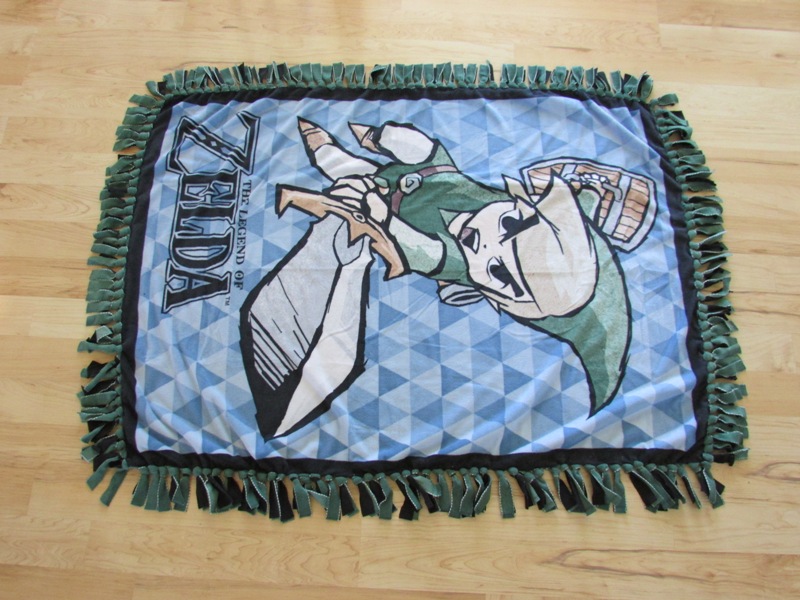
When you're done, your blanket should look something like this! Fabulous! And you'll have a super proud child too.
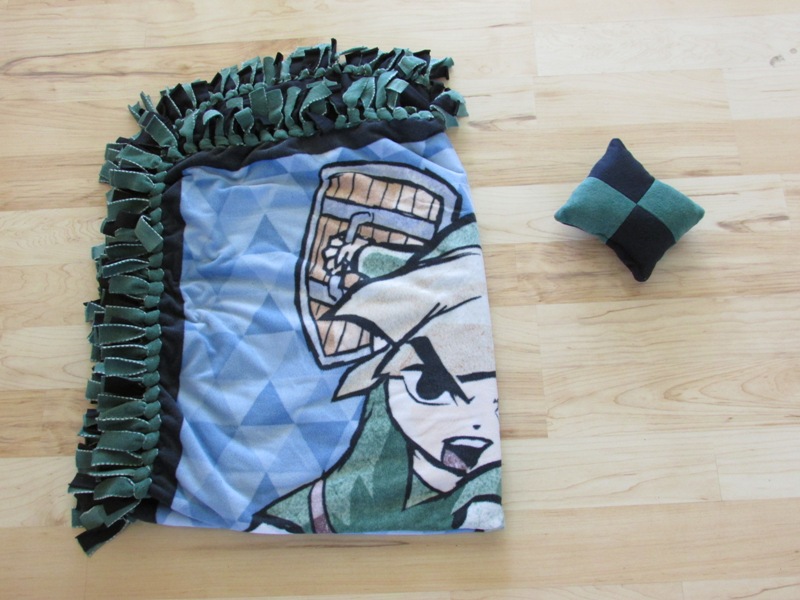
Remember those squares we cut earlier and my daughter claimed? Well, she came back with this cute patchwork pillow she made while we tied! It's small but super cute!

And that's all there is to it! You're all set to make a double-layer fleece blanket with the kids! Fleece doesn't fray at the edges so these hold up really well with lots of washings. And like I said earlier, they make fabulous gifts too.
Let's Create! ~ Kristen
Wow! What a nice printed clothe is this!US Polo Assn Coupon
ReplyDeleteHi. Thanks for this giving out this amazing information. Great content.
ReplyDeleteDefinitely kids need their good dose of sleep and moreover making them sleep is a difficult task.
So getting them their bedsheets and blankets which feature their favourite charecter printed on them. You can buy Kids Bedsheet Online for them so they will be able to adorn themselves with good bedsheets and blankers which have their favourite charecter on them.
Wow! Lovely and helpful post. Thanks for sharing.
ReplyDeleteLuxury Bed sheets
Great blog on Bedsheets
ReplyDeleteI want to always read your blogs. I love them Are you also searching for nursing pico essay writers uk ? we are the best solution for you.
ReplyDeleteI want to always read your blogs. I love them Are you also searching for Nursing thesis writing services? we are the best solution for you. We are best known for delivering Nursing thesis writing services to students without having to break the bank
ReplyDeleteThanks for sharing such an informative post. Your article provide such a great information with good knowledge. I really appriciate that you shared with us such a amazing post. I would like to share such an amazing place from where everyone can buy online blankets at wholesale and retail prices in the UK
ReplyDelete